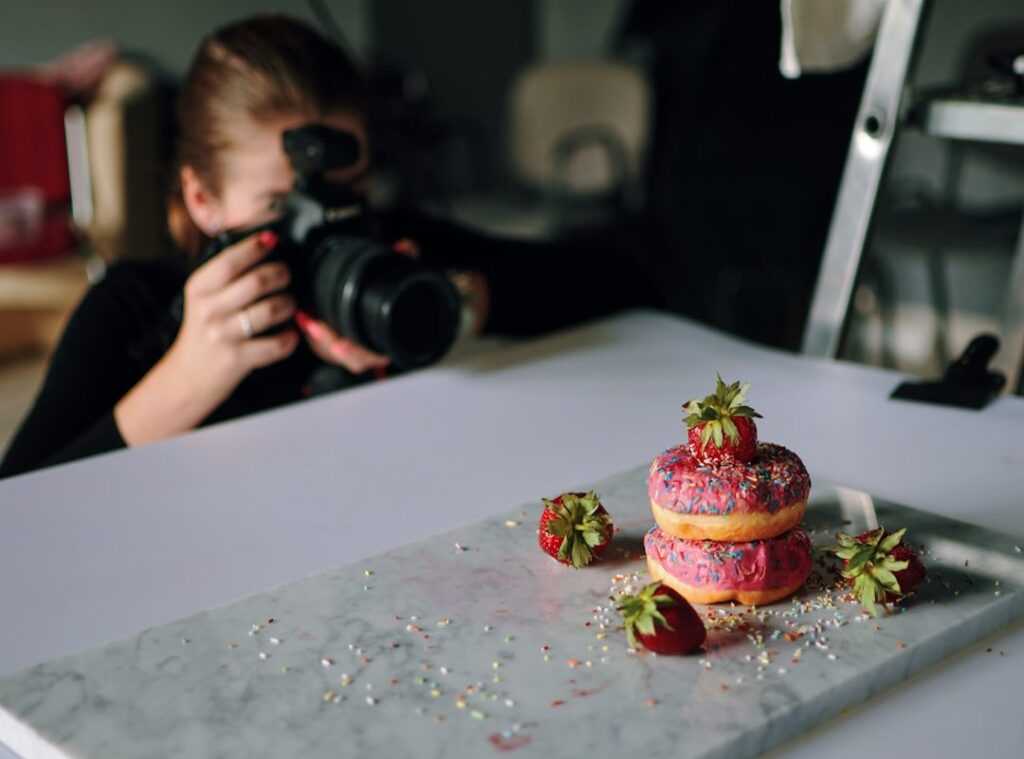
You whip up a gorgeous dish, snap a photo, and bam! It looks like cafeteria food. Frustrating, right?
I’ve been there, spending years in kitchens and behind cameras, learning to make food taste as good visually as it does on the plate. You don’t need fancy gear. What you need are practical food photography tips.
Does that sound like something you want? I promise, by the end of this, you’ll have the tools to take your food photos from blah to brilliant. Let’s turn that next picture into a masterpiece that makes mouths water.
Ready to transform your shots?
Lighting Magic: The Secret to Jaw-Dropping Food Photos
Light is the salt of photography. It enhances everything. You can’t ignore it, especially in food photography.
It’s the single most important element, really. Forget those artificial lights. Toss the camera’s flash out the window.
Why? They create weird color casts and harsh shadows.
Find the best natural light source at home. Usually, it’s a large window with indirect sunlight. Soft, diffused light is your best friend.
You know, like the golden hour’s gentle glow.
Pro tip: grab a white foam board or even a napkin. Use it to bounce light back into shadows. Want more drama?
Use a black piece to deepen those shadows. This little trick can make a huge difference.
Let’s talk about backlighting. Ever wondered why some food photos look so appetizing? It’s backlighting!
It highlights textures like the glisten on a sauce. Want to showcase the crumb of a cake? Side-lighting does wonders.
Each light direction tells a different story.
So, where does this all tie into your food photography tips? Understanding light gives your photos depth and appeal. Trust me, it’s not just about the equipment or the food.
It’s the light.
And if you’re into fresh, flavorful cooking with a focus on quality ingredients, dive deeper into the understanding farm to table movement. It’s all connected.
Bottom line: master natural light and watch your food photos transform. No need for fancy gear. Just the right light and some creativity.
Plating for the Lens: The Art of Food Styling & Composition
Plating is more than just arranging food. It’s storytelling. When I approach a dish, I think about the narrative.
What’s the main character? The juicy steak, maybe. And how does the supporting cast (like herbs or sauces) play its part?
The Rule of Thirds can guide you. Imagine your plate divided into nine squares, like a tic-tac-toe board. Place that hero ingredient where the lines intersect.
It draws the eye, creating balance and drama. Yes, drama on a plate.
Textures and layers are your friends. Ever noticed how a sprinkle of sea salt or a drizzle of oil can make a dish pop? These details bring depth.
They make a scene look alive, fresh, as if you could almost smell it through the screen. Garnishes should be fresh. Add them right before you start shooting.
They create visual interest, catching the light just so. Yet, perfection is boring. Life is messy (a) crumb here, a drop of sauce there.
A used fork tells a story, inviting and intimate. An overly clean setup can feel sterile, like a model with too much airbrushing.
Choosing dishware matters more than you’d think. I prefer neutral colors and matte finishes. They let the food be the star, without harsh reflections stealing the spotlight.
Matte prevents glare, creating a soft canvas for the food’s lively colors. Curious about more food photography tips? This isn’t just aesthetics.
It’s about capturing a moment, a feeling. It’s about honesty. Sometimes I don’t know if these rules will work.
But trying them gives your photography a fighting chance. Food is art. Let it tell its story.
Angling for Appetite: Perfect Your Food Shots
Ever take a photo and feel like the dish looks… meh? The camera angle can change everything. Seriously, when it comes to food photography, the angle you choose can totally transform the story your dish tells.
Let’s talk about the three most common angles. The Overhead, or Flat Lay (90°), is killer for capturing all elements on a pizza or in a bowl. It gives a graphic, modern vibe.
Then there’s the Diner’s View (45°). This one feels like you’re about to dig in. It’s brilliant for showing off the height and layers of a burger or pancakes (who doesn’t love a towering stack?).
And for those wanting to highlight texture, the Straight-On (0°) is your best friend. Imagine a layer cake or a drink in a tall glass, looking all tall and proud.
But don’t just take my word for it. Move around your dish. Take test shots.
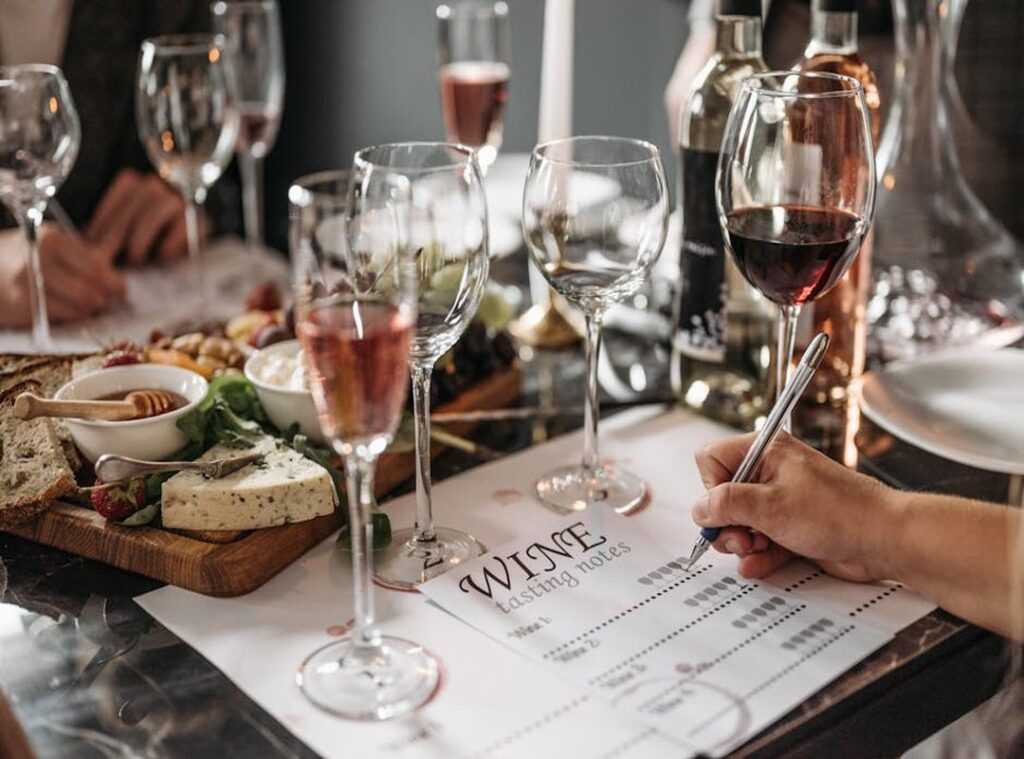
See which angle makes your food look its best. And while you’re exploring delicious angles, consider pairing your meals with the right wine. Check out the Wine Pairing Essentials Beginners for some tasty tips.
Trust me, finding the right angle (and pairing) can make all the difference.
Setting the Scene: Props and Backgrounds that Boost
When it comes to food photography, props and backgrounds are the unsung heroes. They’re the supporting cast that makes the hero dish shine. You can’t just throw any old thing in there.

Think about it: what would a classic spaghetti dish look like on a neon pink tablecloth? Distracting, right?
Start with a simple, neutral surface. A wooden table or a piece of slate can work wonders. You want the focus on the food, not the chaos around it.
Trust me, a busy background can ruin a photo faster than you can say “overexposed.”
Props should tell a story. A vintage fork or a crumpled napkin adds charm. But don’t overdo it.
Less is more. You don’t want a scene that looks like a yard sale. The goal is to boost the story, not create visual noise.
And color? Oh, it matters. Use complementary colors to make the dish pop.
An orange-glazed chicken looks divine next to a blue napkin. It’s one of those food photography tips that can transform a shot from bland to brilliant.
Remember, the dish is the star. Props and backgrounds should just be the perfect backup singers.
The Final Garnish: Perfect Photo Edits
Think of editing as adding that last sprinkle of salt, not masking a disaster. You don’t need fancy gear. Your smartphone’s photo app or Snapseed works wonders.
Start with brightness. A little lift goes a long way to make your image look airy. Next, tackle contrast.
You want those shadows to pop, giving depth to your shot.
Colors? A gentle nudge in saturation can make them sing. Just don’t overdo it.
Subtle is key.
Finally, sharpening. It should boost texture, not turn your food into a crunchy mess.
These simple tweaks transform your shots into lively visuals. Who knew food photography tips could be this simple? Editing’s not solving issues; it’s seasoning your masterpiece.
Snap Your Culinary Masterpiece
So, we’ve come full circle, haven’t we? You’re itching to turn your kitchen into a mini studio. Remember, it’s not about fancy cameras.
Skill matters more. Your dishes deserve to look as good online as they do on your plate. Master light.
Play with angles. These food photography tips can make anyone a pro. Don’t just read this.
Act. Grab your phone. Cook something amazing.
Use these tips. Show off your culinary art. The world’s waiting to see your creativity.
And guess what? We can’t wait either. Dive in and let your food tell its story.
 Head of Culinary Content & Recipe Development
There is a specific skill involved in explaining something clearly — one that is completely separate from actually knowing the subject. Max Bessleroid has both. They has spent years working with flavorful cooking foundations in a hands-on capacity, and an equal amount of time figuring out how to translate that experience into writing that people with different backgrounds can actually absorb and use.
Max tends to approach complex subjects — Flavorful Cooking Foundations, Explore More, Kitchen Prep Hacks being good examples — by starting with what the reader already knows, then building outward from there rather than dropping them in the deep end. It sounds like a small thing. In practice it makes a significant difference in whether someone finishes the article or abandons it halfway through. They is also good at knowing when to stop — a surprisingly underrated skill. Some writers bury useful information under so many caveats and qualifications that the point disappears. Max knows where the point is and gets there without too many detours.
The practical effect of all this is that people who read Max's work tend to come away actually capable of doing something with it. Not just vaguely informed — actually capable. For a writer working in flavorful cooking foundations, that is probably the best possible outcome, and it's the standard Max holds they's own work to.
Head of Culinary Content & Recipe Development
There is a specific skill involved in explaining something clearly — one that is completely separate from actually knowing the subject. Max Bessleroid has both. They has spent years working with flavorful cooking foundations in a hands-on capacity, and an equal amount of time figuring out how to translate that experience into writing that people with different backgrounds can actually absorb and use.
Max tends to approach complex subjects — Flavorful Cooking Foundations, Explore More, Kitchen Prep Hacks being good examples — by starting with what the reader already knows, then building outward from there rather than dropping them in the deep end. It sounds like a small thing. In practice it makes a significant difference in whether someone finishes the article or abandons it halfway through. They is also good at knowing when to stop — a surprisingly underrated skill. Some writers bury useful information under so many caveats and qualifications that the point disappears. Max knows where the point is and gets there without too many detours.
The practical effect of all this is that people who read Max's work tend to come away actually capable of doing something with it. Not just vaguely informed — actually capable. For a writer working in flavorful cooking foundations, that is probably the best possible outcome, and it's the standard Max holds they's own work to.