If you’ve ever struggled with dense loaves, dough that won’t rise, or inconsistent results in the kitchen, this baking with yeast guide is exactly what you’ve been searching for. Baking with yeast can feel intimidating, but understanding how it works—and how to control it—transforms your results from unpredictable to professional-quality.
This article breaks down the fundamentals of yeast, how to activate it properly, the role of temperature and timing, and the most common mistakes that sabotage your bread. Whether you’re making sandwich loaves, dinner rolls, or artisan-style bread, you’ll find clear, practical steps that make the process approachable and repeatable.
Our guidance is grounded in tested techniques, culinary best practices, and hands-on kitchen experience to ensure accuracy and reliability. By the end, you’ll not only know what to do—you’ll understand why it works, giving you the confidence to bake light, airy, flavorful bread every time.
Yeast can feel intimidating. One small packet, and suddenly you’re worried about water temperature, proofing, and whether your dough will rise at all. The real problem? Fear of killing yeast, confusion over active dry versus instant, and that sinking feeling when nothing happens.
However, once you understand that yeast is a living microorganism that feeds on sugar and releases carbon dioxide, everything clicks. This baking with yeast guide shows you exactly how to activate, knead, and troubleshoot with confidence. As a result, you’ll get airy bread, fluffy rolls, and bakery-level results—consistently.
Tested techniques, clear steps, better bakes. That’s the magic.
Choosing Your Champion: A Breakdown of Baking Yeasts
Yeast is a living microorganism that feeds on sugars and produces carbon dioxide, making dough rise. Choosing the right type can mean the difference between lofty bread and a dense disappointment.
Active Dry Yeast consists of dormant granules coated in dead cells. It must be dissolved in warm water (about 100–110°F) to “proof,” or activate, before mixing. This extra step reassures beginners that the yeast is alive (those bubbles are a good sign). It’s ideal for traditional sandwich loaves and artisan breads with longer fermentation.
Instant Yeast (Rapid-Rise) has finer granules and doesn’t require proofing. You can mix it directly with dry ingredients, saving time. It rises faster, making it perfect for weeknight pizza dough or quick dinner rolls.
Fresh Yeast (Cake Yeast) comes in a moist, crumbly block and must be refrigerated. It’s prized in enriched doughs—like brioche—because many bakers believe it delivers a slightly richer flavor.
Comparing the Types
- Use active dry for classic, slow recipes.
- Choose instant for speed and convenience.
- Pick fresh for enriched or bakery-style doughs.
Substitutions: 1 packet active dry (2¼ tsp) = 2¼ tsp instant; use about double fresh yeast by weight. For deeper tips, see a reliable baking with yeast guide before experimenting.
The Baker’s First Step: Waking Up and Working with Yeast
Before you ever mix flour and water, there’s one quiet hero to wake up: yeast. Understanding this step makes all the difference in any baking with yeast guide.
The Art of Proofing
Proofing simply means activating Active Dry Yeast before adding it to your dough. To begin, dissolve the yeast in warm water and wait. Within 5–10 minutes, you should see foaming and bubbling across the surface. That foam is carbon dioxide—evidence the yeast is alive and feeding. You may also notice a mild, earthy aroma. If nothing happens, the yeast may be expired (it happens to the best of us).
The “Goldilocks Zone” for Water Temperature
Now, let’s talk temperature. Yeast thrives between 105–115°F (40–46°C). Too hot, and you’ll kill the yeast cells outright. Too cold, and activation slows—or stalls completely. If you don’t have a thermometer, aim for water that feels warm but not hot on your wrist. In other words, think cozy bath, not boiling tea.
Feeding Your Yeast
Next, add a small pinch of sugar or a drizzle of honey. This acts as an initial food source, giving yeast a quick energy boost. While flour will eventually feed it, this early snack jumpstarts activity and reassures you that the yeast is working.
Incorporating into Dough
Finally, when mixing your dough, combine yeast with flour before adding salt. Direct contact with salt can dehydrate and damage yeast cells. A simple sequencing tweak—but it saves a loaf.
The Science of the Rise: What Happens Inside Your Dough

When you mix flour, water, and yeast, you’re starting a tiny biological engine. Yeast is a living microorganism that feeds on sugars naturally present in flour. As it eats, it produces carbon dioxide (CO2) gas and alcohol. This process is called fermentation. The alcohol mostly bakes off, but the gas is what makes your dough expand.
Creating Structure
Flour contains proteins that form gluten, a stretchy network that acts like a balloon. The CO2 bubbles get trapped inside this elastic web, inflating the dough. Without strong gluten development, the gas escapes—and you get a dense loaf instead of a light one.
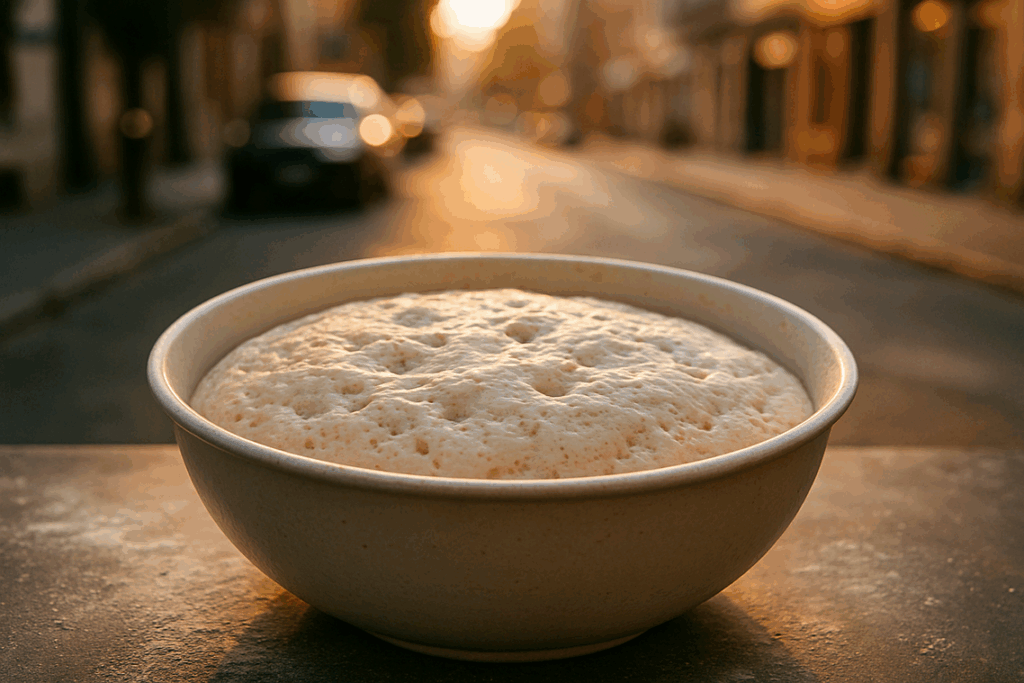
The First Rise (Bulk Fermentation)
During bulk fermentation, flavor and texture develop. The dough should:
- Double in size
- Feel airy and slightly puffy
- Hold a gentle fingertip indentation
If it springs back immediately, it needs more time.
The Second Rise (Proofing)
After shaping, the dough needs a final rise to relax and refill with gas. This ensures a soft, airy crumb before baking. Think of it as the finishing touch in your baking with yeast guide.
Mastering fermentation pairs beautifully with skills like roasting vegetables for maximum flavor and texture—both rely on patience and heat science.
Troubleshooting Your Bake: Solving Common Yeast Issues
When dough refuses to rise, it’s tempting to blame the recipe (or the weather, or Mercury in retrograde). But yeast is a living organism—a single-celled fungus that feeds on sugars and releases carbon dioxide, which makes dough expand. If nothing’s happening, check the expiration date, ensure water is lukewarm (about 100–110°F), keep the room cozy, and avoid direct salt contact, which can inhibit yeast activity (King Arthur Baking).
If your bread tastes overly “yeasty,” some argue that’s just robust flavor. Usually, though, it signals over-proofing—proofing meaning the final rise before baking. Shorten rise time or move to a cooler spot.
Dough that rises too fast then collapses? Too warm. Gently reshape and give it a shorter second rise.
What’s next? If problems persist, revisit a trusted baking with yeast guide, experiment with proofing times, and consider upgrading your thermometer (pro tip). Mastery comes batch by batch.
Perfect homemade bread isn’t magic; it’s rhythm. Remember the core principles:
- Choose the right yeast for your recipe.
- Keep water warm, not hot, like a cozy bath.
- Watch for a doubled dough and airy bubbles.
Yeast is a tiny living orchestra. Give it warmth, food, and time, and it performs. Starve or scorch it, and the music stops. Think of this baking with yeast guide as your sheet music. Follow it, try a simple focaccia or soft dinner rolls, and enjoy the slow, satisfying rise. Patience is the oven light that proves transformation is happening inside quietly.
Mastering Bread Starts Here
You came here looking for clarity and confidence in your yeast baking — and now you have the foundation to make it happen. From understanding how yeast works to recognizing perfect proofing and avoiding dense, flat loaves, you’ve tackled the most frustrating parts of baking with yeast head‑on.
There’s nothing more disappointing than putting time and care into a dough that doesn’t rise or bakes up dry and heavy. But with the techniques and tips from this baking with yeast guide, you’re no longer guessing. You know how to activate, knead, proof, and bake with purpose.
Now it’s time to put it into practice. Choose a recipe, prep your ingredients with confidence, and start baking today. And if you want more foolproof techniques, flavor-packed recipes, and kitchen-tested guidance trusted by passionate home cooks everywhere, explore more of our expert baking resources now.
Your best loaf is waiting — get in the kitchen and make it rise.