Keeping ingredients fresh, meals flavorful, and your kitchen organized starts with mastering the right food storage tips. If you’ve ever opened the fridge to find wilted herbs, stale bread, or leftovers that didn’t last, you’re not alone. Many home cooks search for practical, reliable ways to extend shelf life, reduce waste, and preserve taste without overcomplicating their routine.
This article is designed to give you exactly that: clear, kitchen-tested guidance on storing fresh produce, pantry staples, cooked meals, and specialty ingredients the right way. We break down what actually works, why it works, and how small adjustments can make a big difference in flavor and food safety.
Our guidance is rooted in hands-on culinary experience, food safety best practices, and proven kitchen techniques used in real homes every day. By the end, you’ll know how to protect your ingredients, save money, and keep every dish tasting as fresh as possible.
Unlock Fresher Flavors Today
Ever opened the fridge to find slimy spinach or sour milk? That waste adds up.
Improper storage drains your budget and dulls taste and nutrients.
In this guide, you’ll get practical food storage tips that protect safety and flavor.
Store produce dry and ventilated; keep meats sealed at 40°F or below.
Learn the correct methods for produce, meats, dairy, and pantry staples, and turn your kitchen into an efficient freshness hub.
- Label and date leftovers to track peak quality.
Because better storage means safer meals and brighter flavors.
Stop tossing money away and start cooking with confidence every single day.
The Core Principles: Temperature, Air, and Moisture
First things first, temperature control is non‑negotiable. The food “danger zone” (40°F–140°F) is where bacteria multiply rapidly, according to the USDA. I’m personally strict about getting leftovers into the fridge within two hours—sooner if possible (yes, even when guests are still chatting). Shallow containers help food cool faster, which reduces bacterial growth.
Next, let’s talk air. Oxygen triggers oxidation, the chemical reaction that causes staleness and spoilage. Think of a sliced apple turning brown. That’s why airtight containers, tight wrapping, or vacuum sealing matter. In my kitchen, if it’s not sealed properly, it’s basically on borrowed time.
Finally, moisture is tricky. Too much invites mold on berries; too little makes leafy greens wilt. I prefer breathable storage for produce and dry environments for pantry goods. Mastering these food storage tips isn’t fussy—it’s foundational.
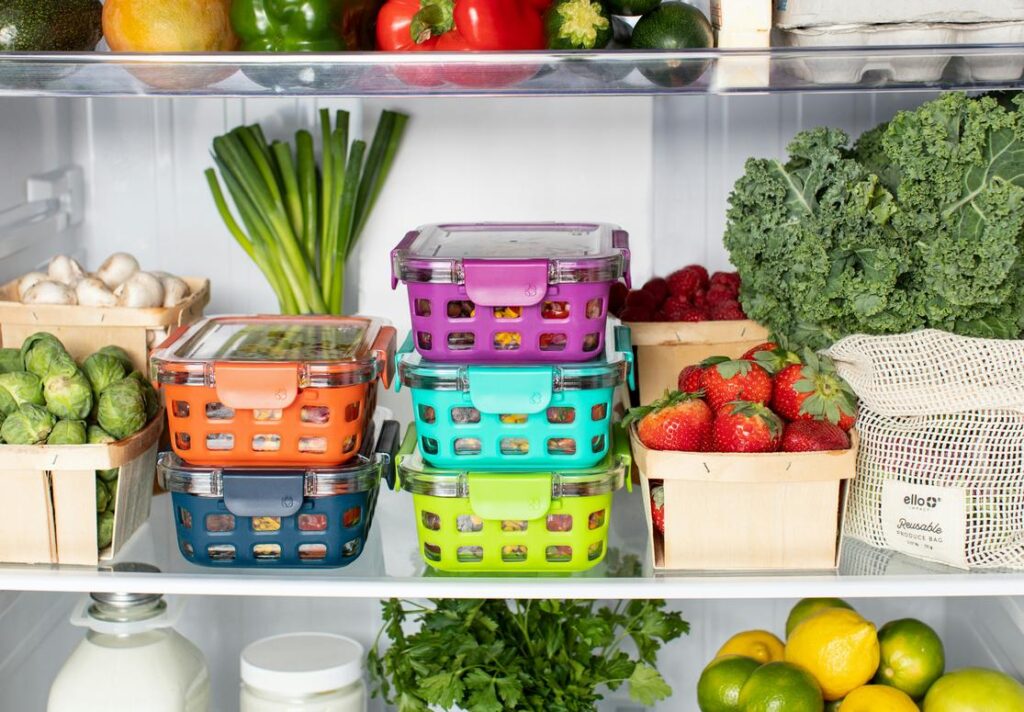
A Zone-by-Zone Guide to Your Refrigerator
Your refrigerator isn’t just a cold box—it’s a carefully designed climate map. And if you’ve been storing milk in the door, we need to talk (gently, of course).
The Door (Warmest Zone)
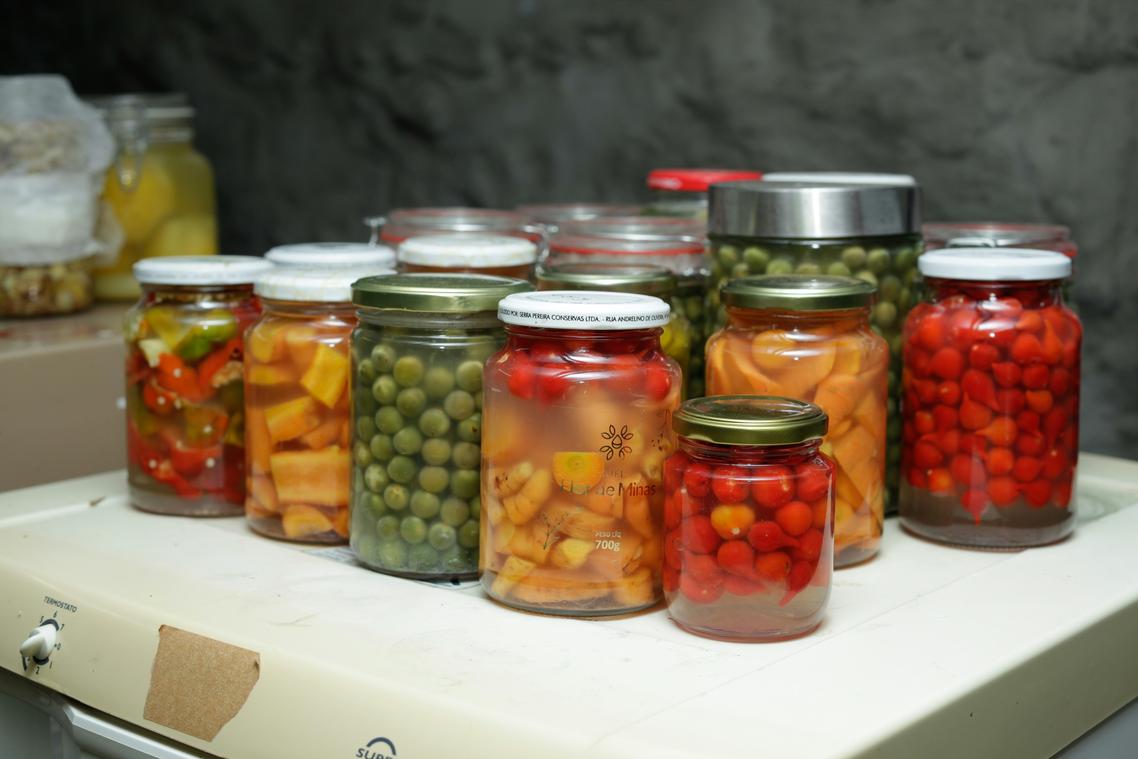
First things first: the door is the warmest part of the fridge because it’s exposed to room temperature every time you open it. That makes it perfect for condiments, jams, pickles, and other preservative-heavy items. Ketchup can handle a little temperature drama. Milk? Not so much. Dairy and eggs are highly perishable—meaning they spoil quickly when temperatures fluctuate (USDA recommends keeping your fridge at 40°F or below). So while the door shelves look convenient, they’re basically the “sun deck” of your fridge.
Upper Shelves (Consistent Cool)
Meanwhile, the upper shelves maintain the most consistent temperature. This makes them ideal for leftovers, drinks, yogurt, and ready-to-eat foods. Storing cooked food above raw items also prevents drips and cross-contamination—a fancy term for bacteria spreading from one food to another. (Nobody wants chicken juice on last night’s pasta.)
Lower Shelves (Coldest Zone)
Next up, the coldest real estate: the lower shelves. This is where raw meat, poultry, and fish belong. Always place them in containers or on plates to catch drips. It’s one of those simple food storage tips that saves you from unpleasant science experiments.
Crisper Drawers (Humidity Control)
Finally, those mysterious sliders. High humidity keeps leafy greens, carrots, and broccoli from wilting. Low humidity works best for apples, pears, and avocados, which release ethylene gas (a natural ripening agent). And if you’re prepping ahead, check out time saving meal prep strategies for busy weeknights to keep everything fresh and organized.
Pantry and Freezer Storage Essentials
A well-organized kitchen starts with the ideal pantry environment: cool (50–70°F), dark, and dry. Heat and light speed up oxidation—the chemical process that degrades flavor and nutrients (think of it as food aging in fast-forward). Store flour, sugar, rice, and pasta in airtight containers to block moisture and pests. Canned goods should stay in their original cans but rotated regularly—first in, first out (yes, like a grocery store aisle).
Root Vegetable Rules
Potatoes, onions, and garlic need ventilation. Mesh bags or open baskets work best. Potatoes release moisture and ethylene gas—a natural plant hormone that triggers sprouting. Onions are sensitive to that gas, so keep them apart to prevent premature spoilage. (They’re like roommates who absolutely should not share space.)
Freezer Best Practices
Freezer burn happens when air dehydrates food. Remove as much air as possible using freezer bags or vacuum sealers.
Freeze well:
- Soups and stews
- Blanched vegetables
- Cooked grains
Don’t freeze well:
- Creamy sauces
- Lettuce or high-water produce
Label and date everything—future you will be grateful. Looking for more food storage tips? Next, consider batch-cooking strategies and shelf-life charts to streamline weekly prep.
Quick Hacks for Commonly Mishandled Foods
Let’s start with fresh herbs, because they’re often the first to wilt in busy home kitchens from Brooklyn brownstones to Bay Area lofts. Soft herbs—think parsley and cilantro—should be treated like a bouquet: trim the stems and store upright in a jar of water. Hard herbs like rosemary and thyme, however, prefer being wrapped in a damp paper towel and tucked into the crisper drawer. (Yes, herbs have personalities.)
Next, bread. Despite what your neighbor might insist, the refrigerator actually speeds up staling due to moisture loss and starch retrogradation—the scientific term for that sad, chewy texture (Harold McGee, On Food and Cooking). Store bread at room temperature for a couple of days, or freeze it for longer stretches.
Tomatoes are another casualty. Always keep them at room temperature, away from direct sunlight. Refrigeration damages flavor compounds, leaving them mealy (UC Davis Postharvest Center).
Meanwhile, berries benefit from a diluted vinegar rinse—1 part vinegar to 3 parts water—before drying and storing. It kills mold spores and extends freshness.
Finally, cheese needs to breathe. Skip plastic wrap; use parchment or wax paper instead. These small food storage tips make a noticeable difference.
Throwing away slimy spinach or sour milk feels like tossing cash straight into the trash. Yet once you understand proper fridge zones and airflow basics, premature spoilage stops being a mystery and starts being manageable. Some argue food waste is inevitable in busy homes; however, small, strategic shifts prove otherwise. Move dairy off the door, keep herbs upright with trimmed stems, and separate ethylene-producing fruit from greens. These food storage tips aren’t trendy hacks—they’re practical systems competitors rarely explain in depth. Start with one change today. Then notice fresher flavors, safer meals, and real savings accumulating week after week consistently.
Bring More Flavor and Confidence Into Your Kitchen
You came here looking for practical ways to cook smarter, explore new flavors, and feel more confident in your kitchen. Now you have the foundations—from essential techniques to global inspiration and smart food storage tips—to make every meal more intentional and less stressful.
Cooking shouldn’t feel overwhelming or repetitive. The real pain point isn’t just what to cook—it’s how to make it taste amazing without wasting time or ingredients. When you understand preparation basics, flavor building, and proper storage, you reduce waste, save money, and enjoy better results every single time.
Now it’s your move. Start applying these techniques to your next meal, experiment with one new cuisine this week, and put those food storage tips into action so nothing goes to waste.
If you’re ready to level up your everyday cooking, explore more of our trusted, flavor-packed guides and kitchen hacks. Join thousands of home cooks who rely on our proven techniques to cook smarter and tastier—start your next recipe today.